You have rented a KVM server with Windows and want to get started right away? Understandable!

First of all, congratulations on ordering your Windows KVM server. That was the right decision!

In this post, we will explain step by step how to use the server.

Your KVM server is delivered with Linux by default. But don’t worry! It’s not difficult to prepare the server for Windows. We’ll help you with that. You already have everything you need, so you can get started right away.

Ordering a Windows KVM vServer

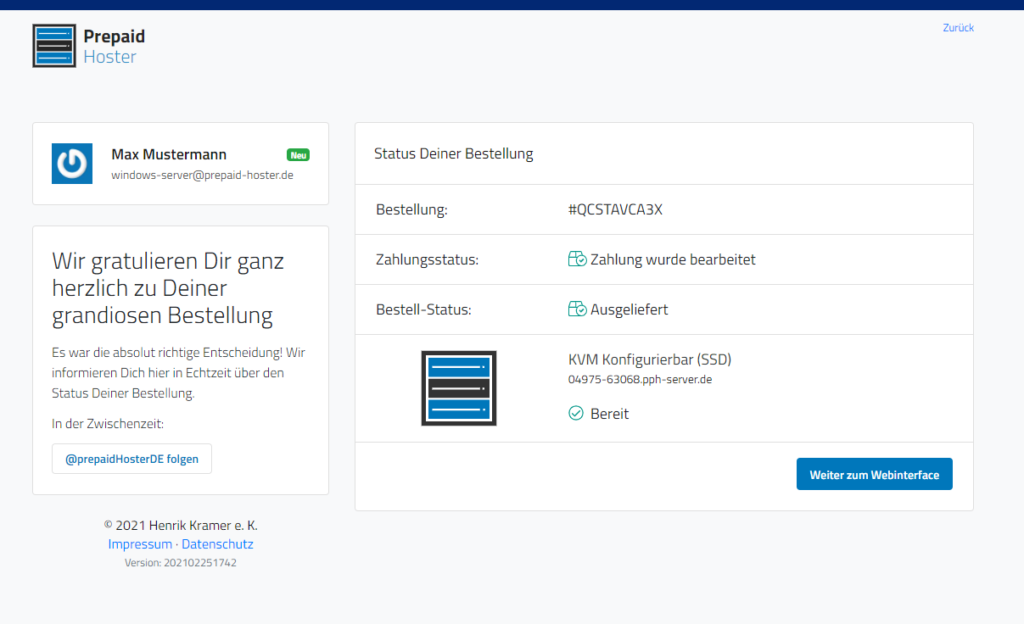
After ordering, wait a few seconds and then click on the button „Continue to the web interface“. Otherwise, log in to the web interface at www.vionity.de using your login details.

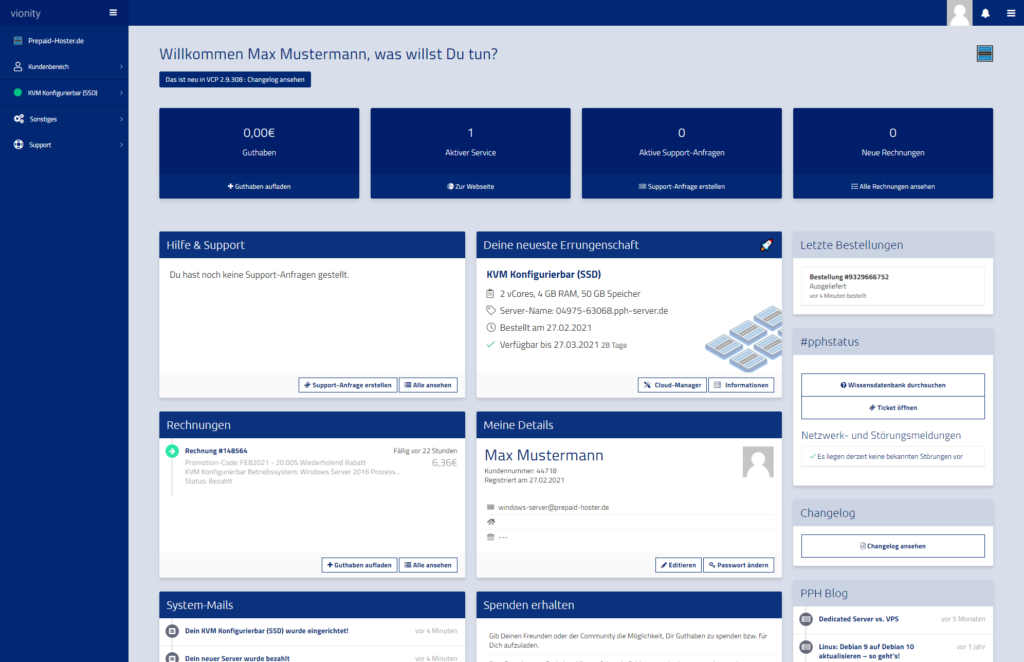
Once the web interface has loaded, you will see all the important information at a glance. Take a moment to look at all the data on the web interface homepage.

If you are ready to continue: In the middle of the screen, you should have noticed the card „Your latest achievement“. If this is not the case, the order may not have been processed yet. You can find information about orders in the right sidebar under „Recent orders“ and via the ticket support.

Click on „Cloud Manager“ in the lower part of the „Your latest achievement“ card. The web interface will now load all information about the KVM server. This may take a short while for the first access.

The first step is done. You are now in the administration for virtual servers.

Installing Windows Server 2019

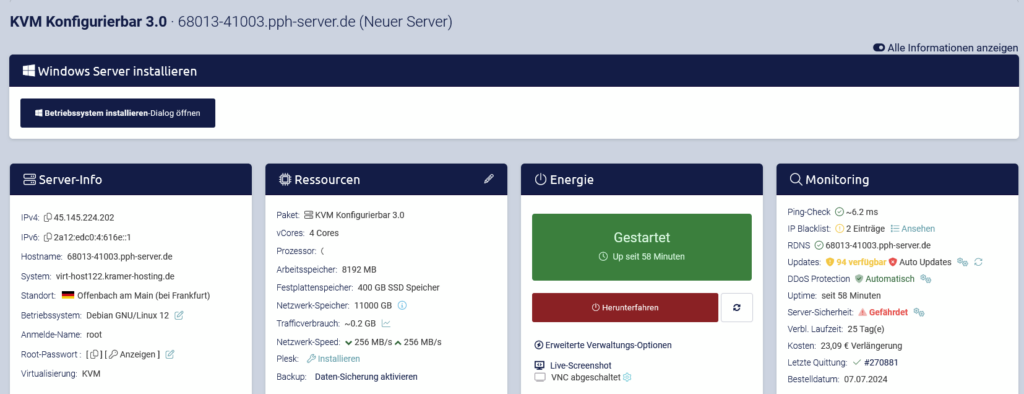
Now you can get started: To install Windows, you can look at the large box in the upper left corner of the Cloud Manager. Click on

Then you can display all the operating systems that can be installed on the KVM server. In this case, Windows should be installed.

Finally, confirm the action by clicking on „Delete data & Windows Server 2019“. In the following screen, please click on „Continue“.

Waiting for completion

The next step will take some time. Usually, the installation of a Windows system takes around 5-10 minutes. Depending on the current network load and the size of the server, it may take a little longer.

If this screen shows a login screen for a long time, please contact support. Something is probably hanging there, and we can fix it for you quickly.

Once the installation has been successfully completed, the installation step will automatically take you back to the Cloud Manager (vServer management). Please wait until this happens.

If there are issues with the Windows installation, please check the article „Windows installation not working“.

Connecting to the Windows Server with Remote Desktop

Now it’s time to connect to the server using Remote Desktop. This is a program that is preinstalled on every Windows operating system. Click on „Start“ on your computer (bottom left of the taskbar) and enter „Remote Desktop“.

P.S.: Repeat this process whenever you want to connect to the server using Remote Desktop.

Open the program with a simple click. A small window will now open, asking for the IP address to which a Remote Desktop connection should be established.

In the small field, please enter the IP address (IPv4) of your server. You will find this in the Cloud Manager in the card titled „Server Info“.

Then you need to authenticate yourself. To do this, you need to enter the login details of your Windows server. You can find the required login details in the same „Server Info“ card. In the authentication window, please click on „More choices“ and then on „Use another account“. Now you can enter the username and password.

Your username is always „Administrator“ after installation. The password is hidden in the Cloud Manager behind the „Admin password“ field. You can select the field, copy the password, and paste it into the password field in the Remote Desktop program. If you wish, you can check the „Remember“ box to save the information in the system. The data will then be used directly for the next connection.

Now you can connect by clicking on „OK“. If a server certificate warning appears, please be sure to click „Yes“ to continue the connection.

You have now successfully logged in to your Windows server for the first time. From here on, it should be no problem for you to use the server.

What our customers do with it is up to them. However, most of them have one thing in common. And we also recommend this to you: Download a browser of your choice, such as Chrome or Firefox, on the Windows server. To do this, you need to use Internet Explorer first.

If you still have questions, please feel free to contact us anytime in the support. We are happy to help you!